
Hey ladies! :) Today I am going to show you the steps for a 'winged liner' or aka the 'pin up' look. It is definitely one of my favorite looks and I often wear it. I do this look when I'm feeling a vintage vibe or I just want to look a little more formal.
Now for this look, you will need:
-black liquid eye liner (fine tip)
-lip liner (nude)
-concealer
-black mascara
-a bright lipstick
-eyelash curler
-eyebrow brush
-eyebrow pencil or brown eyeliner
Step 1: Concealing
First, if you have dark circles, take your concealer and cover them. This will give you a good base to start on.
Step 2: Eyebrows
Take your eyebrow brush and comb your brows so they lay flat. If you don't have a brow brush or an old (clean) mascara brush, get one. These are essential. But for the time being, you can improvise with a fine toothed comb. Next, take the brow pencil or the brown eyeliner and fill in your eyebrows. The look is better with stronger brows. Brush again to blend.
Step 3: Lash Line
Next you are going to take your liquid eyeliner and trace your upper lashes. I usually use a thicker liquid liner for the lash part and a really thin one with a brush or felt tip for the wing part. You can also use a pencil for the thick line. I find that pencils don't fade as fast as liquid. (For thicker lashes, you can trace the upper waterline with your pencil.)
Step 4: Wing
Drawing the wing is a little tricky. I have been wearing this look for roughly two years now and I still have issues with getting it perfect on the first try, so don't stress if it takes a few minutes. Now there are two different styles you can draw. The classic way with just one line or the double winged way where you draw two lines which almost resemble cartoon eyelashes.
You will want to tilt your head back so you can see straight up your nose. (Yes, I realize this is weird but it will make your lines more even.) For the classic one, take your thin liner and start at the end of the thick line you just drew. Remember, you want to only make the line as long as your eye lashes are! (If you are going to wear fake eyelashes, adjust the line length.) So start at the end of the line and draw up towards the end of your eyebrow. Flick the liner at the end so that you have a nice sharp point at the end. The picture below is an example of what it should look like.

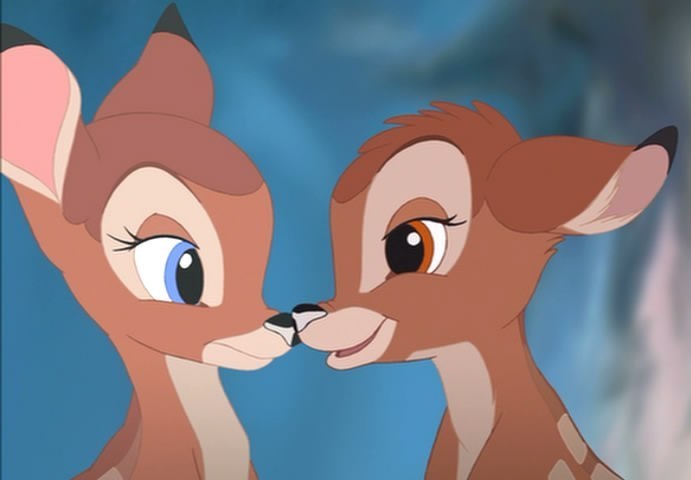
For the double line, draw one wing right above where the classic line is suppose to go and one below. This should resemble Disney princess eyes (or in this case, Bambi.)
 Step 5: Eyelashes
Mascara time! Coat your eyelashes with a ton of mascara. I normally do around 3-5 coats. Separate your eyelashes with a straight pin or a safety pin. Be very careful cause it kills when you stab yourself. Separate and let them dry in between every coat. After 3 coats, curl with your curler. I know you are suppose to curl them before but I find it works better after some mascara is on first. Wipe down your curler and put more mascara. Or you can apply fake lashes if you want to take your look up a notch.
Step 6: Lips
Last step is lips. Apply chapstick or a clear gloss. Outline your lips with your nude pencil. You can also do it in the same color as your lipstick but I find if you do nude, you will not have a ring about your lips when your color begins to fade. Put on your lipstick. Blot it with a tissue and then reapply the color. This will keep it on longer. I like to put gloss over mine that way, it keeps your lips moisturized. It doesn't really matter what color. I have tried every shade imaginable. If you want to spice it up, try out a darker plum. Take your concealer and clean up the edges.
And you're done! This is what my attempt looked like.
 Good luck ladies! :) Comment below to let us know how it worked and/or ask questions.
Love, Mika.
Now for this look, you will need:
-black liquid eye liner (fine tip)
-lip liner (nude)
-concealer
-black mascara
-a bright lipstick
-eyelash curler
-eyebrow brush
-eyebrow pencil or brown eyeliner
Step 1: Concealing
First, if you have dark circles, take your concealer and cover them. This will give you a good base to start on.
Step 2: Eyebrows
Take your eyebrow brush and comb your brows so they lay flat. If you don't have a brow brush or an old (clean) mascara brush, get one. These are essential. But for the time being, you can improvise with a fine toothed comb. Next, take the brow pencil or the brown eyeliner and fill in your eyebrows. The look is better with stronger brows. Brush again to blend.
Step 3: Lash Line
Next you are going to take your liquid eyeliner and trace your upper lashes. I usually use a thicker liquid liner for the lash part and a really thin one with a brush or felt tip for the wing part. You can also use a pencil for the thick line. I find that pencils don't fade as fast as liquid. (For thicker lashes, you can trace the upper waterline with your pencil.)
Step 4: Wing
Drawing the wing is a little tricky. I have been wearing this look for roughly two years now and I still have issues with getting it perfect on the first try, so don't stress if it takes a few minutes. Now there are two different styles you can draw. The classic way with just one line or the double winged way where you draw two lines which almost resemble cartoon eyelashes.
You will want to tilt your head back so you can see straight up your nose. (Yes, I realize this is weird but it will make your lines more even.) For the classic one, take your thin liner and start at the end of the thick line you just drew. Remember, you want to only make the line as long as your eye lashes are! (If you are going to wear fake eyelashes, adjust the line length.) So start at the end of the line and draw up towards the end of your eyebrow. Flick the liner at the end so that you have a nice sharp point at the end. The picture below is an example of what it should look like.

For the double line, draw one wing right above where the classic line is suppose to go and one below. This should resemble Disney princess eyes (or in this case, Bambi.)
Step 5: EyelashesMascara time! Coat your eyelashes with a ton of mascara. I normally do around 3-5 coats. Separate your eyelashes with a straight pin or a safety pin. Be very careful cause it kills when you stab yourself. Separate and let them dry in between every coat. After 3 coats, curl with your curler. I know you are suppose to curl them before but I find it works better after some mascara is on first. Wipe down your curler and put more mascara. Or you can apply fake lashes if you want to take your look up a notch.
Step 6: Lips
Last step is lips. Apply chapstick or a clear gloss. Outline your lips with your nude pencil. You can also do it in the same color as your lipstick but I find if you do nude, you will not have a ring about your lips when your color begins to fade. Put on your lipstick. Blot it with a tissue and then reapply the color. This will keep it on longer. I like to put gloss over mine that way, it keeps your lips moisturized. It doesn't really matter what color. I have tried every shade imaginable. If you want to spice it up, try out a darker plum. Take your concealer and clean up the edges.
And you're done! This is what my attempt looked like.
 Good luck ladies! :) Comment below to let us know how it worked and/or ask questions.
Love, Mika.
Just posting to see if the comments are working
ReplyDelete